
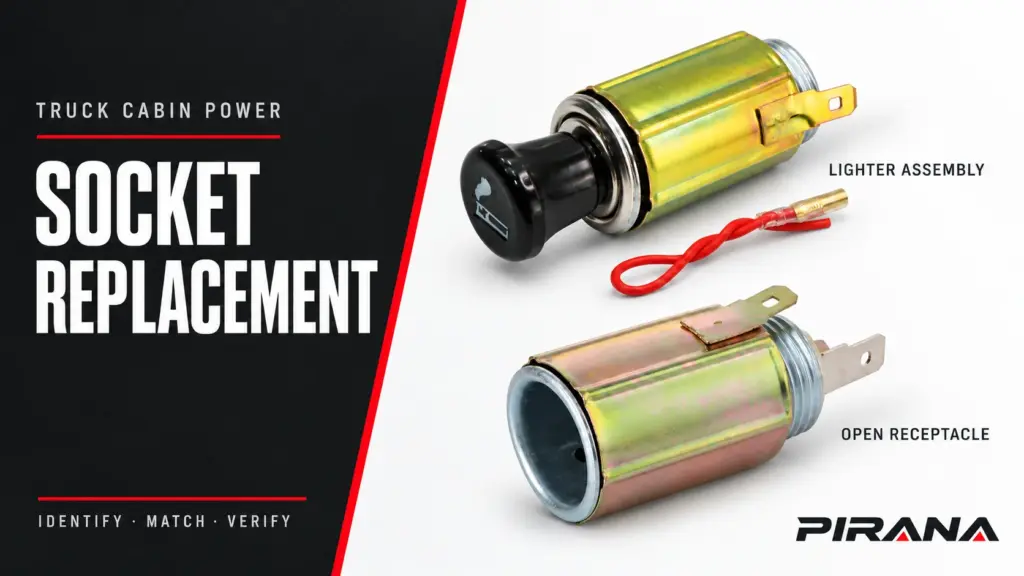
A truck cigarette lighter socket replacement starts with identifying the component and confirming the fault. Establish whether the job needs a heating insert, a receptacle or a complete assembly; confirm the actual outlet supply and intended use; then match the replacement’s connector, mounting and documented rating. Use the applicable vehicle service method for installation and record the final function checks.
A dead outlet does not establish that the socket has failed. A round opening, similar metal body or “12V/24V” sales description does not establish compatibility either. This checklist helps buyers and repair professionals prepare and verify an existing round-outlet replacement. Physical removal, isolation and wiring instructions must come from the service information for the actual truck and fitted equipment.
1. Define which component needs replacing
Start with the original part reference, photographs and a clear description of the intended function. “Cigarette lighter” is often used for several different order scopes:
| Component requested | What to confirm in the order | What it does not establish |
|---|---|---|
| Removable heating insert | The insert reference and the documented lighter receptacle it is intended to operate in | That an accessory-only power outlet can accept it |
| Accessory power receptacle | Receptacle identity, approved accessory duty and rear electrical interface | That a heating insert, trim or harness is included |
| Complete lighter/socket assembly | Exactly which receptacle, insert, retainer, illumination parts and leads are supplied | That every item visible in a catalogue image is included in the package |
| Cap, bezel or retaining part | The specific damaged item and its matching assembly | That replacing trim repairs an electrical fault |
| Connector or harness repair item | The documented vehicle-side repair scope and compatible terminals/housing | That a socket-only replacement repairs a damaged connection |
This distinction affects use as well as ordering. Ford’s 2012 F-650/750 Owner’s Guide Supplement, p. 57, identifies its accessory power point as unsuitable for operating a cigarette-lighter heating element. Peterbilt’s May 2024 Model 567 manual, p. 134, likewise distinguishes the accessory port from the optional lighter and warns against inserting a heating element into the accessory port. Do not use a heating insert as a test plug in an accessory-only outlet. See the Ford power-point instructions and Peterbilt cab-accessory instructions.
For catalogue enquiries, keep PIRANA’s auto cigarette lighter family separate from its vehicle power socket family. A family listing or product photograph is a starting reference; obtain the exact item’s duty, dimensions and supplied contents before approval.
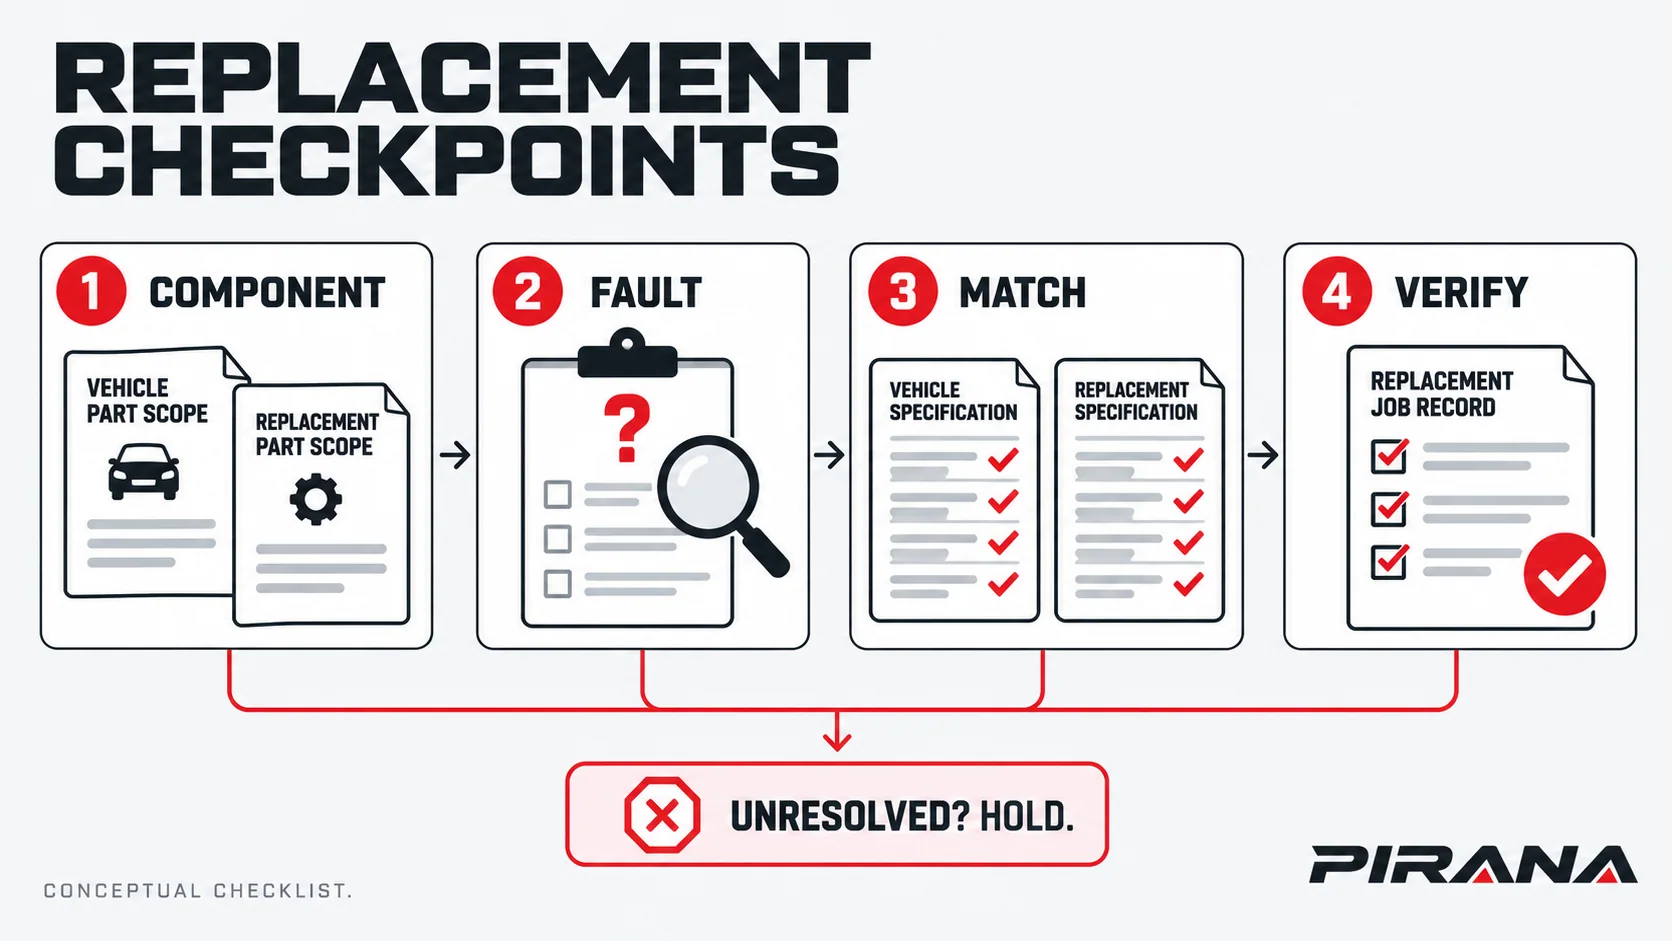
Required result: one named component and a written package scope. Hold the order if the requirement is still only “a round truck socket.”
2. Record the complaint before approving a new socket
Describe what failed, where and under which operating conditions. Record the dashboard or sleeper position, the accessory involved and whether the symptom changes with the vehicle’s documented operating state. Do not repeat a damaging test to make the complaint reproducible.
The Ford guide, p. 153, directs attention to the appropriate fuses before electrical-component replacement. A separate example appears in the New Cascadia Driver’s Manual, §12.05: its power-management system controls supply to certain outlet loads. These are vehicle-specific reasons why “no power” can concern the circuit or its operating state rather than a failed receptacle.
| Recorded observation | What still needs establishing | Replacement decision |
|---|---|---|
| No power at one outlet | Correct operating conditions and the applicable circuit diagnosis, including protection and connections | Keep the socket a suspect until the fault is identified |
| One accessory fails but another appears to work | Whether the accessory, plug and outlet are each suitable for the documented use | Do not approve a socket from this observation alone |
| Power changes with vehicle state | The actual outlet’s documented supply and power-management behavior | Resolve the expected behavior before calling it a failure |
| Loose fit, intermittent contact or visible damage | Which plug, receptacle, mount or connection is affected, using the applicable inspection method | Define the damaged component and any associated repair scope |
| Repeated fuse failure, heat damage or melting | The underlying cause and the extent of circuit/component damage | Hold use and replacement approval pending qualified diagnosis |
The last hold point is a conservative replacement decision, not a universal diagnostic flowchart. Peterbilt’s Model 567 manual, p. 46, calls for inspection when fuses repeatedly fail and rejects higher-rated or patched fuses. Installing another socket does not resolve an unexplained protection fault. See the Model 567 fuse guidance.
Required result: a documented reason for replacing the named component. If diagnosis identifies another cause, resolve that cause and reassess whether the socket needs replacing.
3. Match the candidate to the actual outlet
Record the truck make, platform, relevant build details and market, plus the precise cabin location. Include the vehicle identification number (VIN) when needed by the parts or service lookup. Preserve complete original equipment (OE) and supplier references, including suffixes.
Location matters. The New Cascadia manual distinguishes dashboard equipment and sleeper outlets in §§11.03.03 and 11.04.05. An outlet elsewhere in the same cab is not a sufficient replacement reference. Use the manual’s equipment descriptions for those documented configurations.
Compare the proposed item against the original assembly and the applicable documents:
- Function and supply: lighter-heating duty or accessory-only duty; actual outlet supply; the candidate’s documented operating and load limits. Replacing a receptacle does not convert the circuit’s supply voltage. For the wider rating question, use the 12V vs 24V truck switch verification guide.
- Mounting and retention: required panel opening, usable installation depth, retaining arrangement, bezel and cap clearance. Obtain dimensions from the relevant drawing or prescribed measurement method; do not assume a universal socket size.
- Rear interface: connector housing, keying, terminal arrangement, documented terminal functions and any separate illumination connection. Matching terminal count is insufficient. Do not infer polarity from wire colour or a photograph.
- Package and version: included retainer, leads, illumination pieces and insert, where applicable. Identify which existing items may be reused under the service instructions and which must be replaced.
Front, side and rear photographs help establish visible configuration. They cannot prove hidden terminal functions, capacity or fitment. Any proposed adapter or wiring change requires its own documented approval; it is not an automatic remedy for a mismatched connector.
Required result: a candidate with a traceable part/version and resolved function, electrical interface and mounting requirements. Hold if a decisive rating, terminal function or retention detail remains unknown.
4. Prepare installation from the applicable service method
The installation handoff should name the vehicle, outlet position, approved replacement reference and the service document or job instruction being used. It should also identify the required tools and any connector, trim or retention parts included in the repair.
Do not treat ignition OFF as proof of isolation. The May 2024 Model 567 manual, p. 134, describes an accessory port that operates in OFF, ACC and ON. That example does not describe every truck; it demonstrates why isolation must follow the applicable vehicle instructions.
The technician’s service method must resolve:
- How to isolate the relevant circuit and establish the required working condition.
- How to access and release the fitted assembly without damaging the panel, retainer or connector.
- Whether damaged terminals, leads or mounting parts require a separate repair.
- How to install and retain the replacement, restore connections and complete any documented restoration steps.
There is no universal extraction direction, battery-disconnection sequence or terminal assignment in this checklist. If the available document covers only normal operation, obtain the applicable repair information before dismantling. Do not improvise by bridging terminals, bypassing protection or applying power to unknown connections.
Required result: a defined installation job with the correct procedure and repair scope. Hold physical work if access, isolation or terminal identification is unresolved.
5. Verify the intended function before return to use
Complete the checks specified by the vehicle and replacement-part instructions. The verification record should identify the conditions and acceptance criteria used, rather than simply say “works.”
- Confirm the installed reference/version and exact outlet position against the approved job.
- Confirm seating, retention, connection condition and any associated cap, trim or illumination function under the applicable instructions.
- Verify operation in the documented vehicle states with an approved, suitable accessory or the prescribed service method. A lighter assembly needs its own specified verification; an accessory-only port must not be tested with a heating insert.
- Record the result and any remaining fault, damage or restriction. Do not return an unresolved heat, connection or repeated-protection problem to service on the strength of one successful power check.
Do not create an overload test, substitute a larger fuse or adopt a generic current, temperature or voltage-drop limit. The permitted load and acceptance limits belong to the actual circuit, component and service method.
Required result: a completed record showing that the named replacement meets the documented checks. A successful accessory test establishes only the recorded conditions; it does not prove compatibility with every accessory or truck.
Keep one replacement record from enquiry to completion
Copy these fields into the parts enquiry or job record. Mark an unknown explicitly so that it cannot become an assumed specification.
| Record field | Information to retain |
|---|---|
| Vehicle and location | Make/platform, relevant build and market details, VIN if required, exact dashboard/sleeper position |
| Component and complaint | Insert/receptacle/assembly/other scope; intended use; symptom and operating conditions |
| Fault decision | Diagnostic record, identified cause, replacement reason and any associated circuit repair |
| Original and candidate | Complete OE/supplier references and versions; labelled front/side/rear photographs |
| Matching evidence | Actual supply, documented duty/rating, mounting/retention, rear interface and package contents |
| Installation authority | Applicable service-document reference, required repair parts and responsible technician |
| Completion | Installed reference, checks/conditions/criteria, recorded results and unresolved restrictions |
For a PIRANA enquiry, send the identified component scope, original reference, vehicle/location details and photographs, together with quantities and destination. Use the parts enquiry route to request the exact candidate’s supporting information. Keep approval pending until the decisive specifications are resolved.
If the component family itself is still unclear, the truck cabin switch applications guide routes lighter assemblies, accessory sockets and other cabin controls to their respective tasks.
References
- Ford — 2012 F-650/750 Owner’s Guide Supplement, pp. 57 and 153.
- Peterbilt — Model 567 Operator’s Manual, Y53-6126-1B1, May 2024, pp. 46 and 134–135.
- Daimler Truck North America — New Cascadia Driver’s Manual, STI-500-8, revised 3 May 2024, §§11.03.03, 11.04.05 and 12.05.
REFERENCED IN THIS GUIDE
Products mentioned in this article
These published catalogue references are included because they are discussed in this guide. A reference is a starting point for identification; confirm the exact OE number, connector and vehicle configuration before ordering.
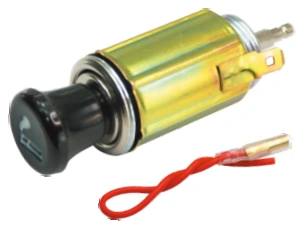
Auto Cigarette Lighters
Auto Cigarette Lighter — HQ-6101
PIRANA Part No. HQ-6101 · OE: Confirm reference
View product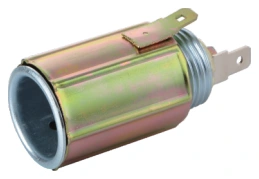
Vehicle Power Socket
Vehicle Power Socket — HQ-6403
PIRANA Part No. HQ-6403 · OE: Confirm reference
View product